
Goodman ARUF Installation Manual PDF: A Comprehensive Guide
Welcome to the comprehensive guide for the Goodman ARUF series air handlers! This resource provides detailed instructions for installing and operating your ARUF unit. We offer a step-by-step manual to ensure safe and efficient setup‚ covering everything from preparation to long-term maintenance‚ ensuring optimal performance and longevity of your system.
The Goodman ARUF series air handlers represent a line of versatile and efficient HVAC components designed for residential and light commercial applications. These air handlers are engineered to circulate conditioned air throughout a building‚ working in tandem with either a heat pump or air conditioner. They are known for their multi-position installation capabilities‚ allowing for upflow‚ downflow‚ horizontal left‚ or horizontal right configurations‚ providing flexibility to fit various spatial requirements.
The ARUF series is designed with a focus on durability and performance‚ incorporating features like all-aluminum evaporators for enhanced corrosion resistance and efficient heat transfer. The units are also designed to be compatible with various heating and cooling systems‚ ensuring adaptability to different climate control needs. Moreover‚ the Goodman ARUF series is built with ease of maintenance in mind‚ featuring readily accessible components that simplify servicing and upkeep. This makes them a practical choice for homeowners and HVAC professionals alike.
Before beginning any installation‚ it’s crucial to consult the specific model’s installation manual for detailed instructions and safety precautions. Proper installation is key to ensuring the efficient and reliable operation of the air handler‚ maximizing its lifespan and performance.
Safety Precautions Before Installation
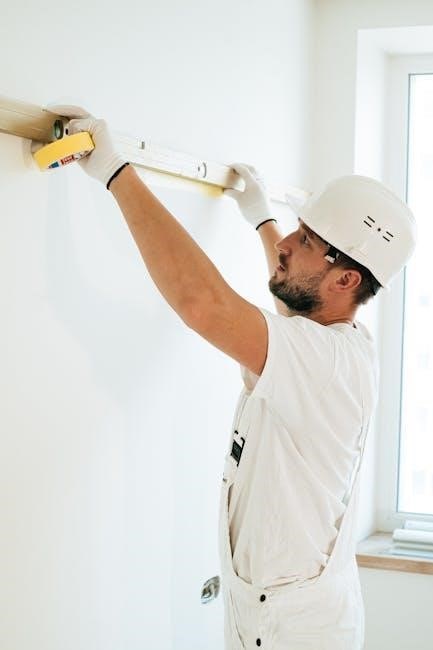
Prior to commencing any installation work on the Goodman ARUF series air handler‚ it is paramount to prioritize safety. Begin by disconnecting all electrical power to the unit at the main power source to prevent the risk of electric shock. Ensure the work area is clear of obstructions and combustible materials‚ as sparks or heat may be generated during the installation process.
Always wear appropriate personal protective equipment (PPE)‚ including safety glasses‚ gloves‚ and sturdy work shoes‚ to protect against potential hazards such as sharp edges‚ falling debris‚ and electrical components. Familiarize yourself with the installation manual and all safety warnings provided by Goodman. Verify that the air handler is properly grounded to prevent electrical hazards.
If you are not a qualified HVAC technician‚ do not attempt to install this unit. Improper installation can lead to serious property damage‚ personal injury‚ or even death. Ensure all work complies with local and national electrical and mechanical codes. Never store flammable liquids or use gasoline or other flammable vapors near the appliance. These precautions are essential for a safe and successful installation.
Pre-Installation Checklist and Considerations
Before initiating the installation of your Goodman ARUF air handler‚ a thorough pre-installation checklist is crucial. Firstly‚ verify that the unit is the correct model and size for the intended application‚ ensuring it meets the heating and cooling requirements of the space. Check the available electrical capacity to confirm it aligns with the unit’s power specifications‚ preventing electrical overloads and potential hazards.
Inspect the installation location to ensure it complies with the manufacturer’s recommendations. The area should be level‚ stable‚ and capable of supporting the weight of the air handler. Ensure adequate clearance is provided around the unit for maintenance and servicing. Confirm that the existing ductwork is compatible and in good condition‚ making any necessary repairs or modifications.
Gather all necessary tools and materials‚ including wiring‚ connectors‚ refrigerant lines‚ and mounting hardware. Review the installation manual thoroughly to understand each step and identify any special considerations. Verify the availability of a suitable condensate drain line and ensure it is properly connected to prevent water damage. Finally‚ double-check all local and national codes to guarantee full compliance.
Unpacking and Inspection of Components
Upon receiving your Goodman ARUF air handler‚ carefully unpack all components‚ taking precautions to avoid any physical damage. Begin by inspecting the exterior of the packaging for signs of mishandling during transit‚ such as dents‚ tears‚ or punctures. Document any visible damage immediately with photographs and notify the carrier and distributor.
Once opened‚ meticulously remove each component‚ comparing it against the packing list to ensure all items are present. Check for any concealed damage that may have occurred during shipping‚ paying close attention to delicate parts like coils‚ wiring‚ and control panels. Verify that all necessary accessories‚ such as mounting brackets‚ screws‚ and installation manuals‚ are included.
Inspect the unit’s cabinet for any deformities or scratches that could compromise its structural integrity or aesthetic appeal. Examine the internal components‚ ensuring that all connections are secure and that there are no loose wires or damaged insulation. If any discrepancies or damages are found‚ contact Goodman’s customer service or your distributor for assistance and replacement parts. Proper unpacking and inspection are vital for a smooth and successful installation process.
Step-by-Step Installation Procedures
The installation of a Goodman ARUF air handler involves several critical steps to ensure proper functionality and safety. Begin by selecting the appropriate installation location‚ ensuring it meets the unit’s spatial requirements and ventilation needs‚ keeping in mind these units are designed for indoor installation only. Securely mount the air handler in the desired position‚ whether it be upflow‚ downflow‚ or horizontal‚ adhering to the specified clearances outlined in the manual.
Next‚ connect the ductwork to the unit‚ ensuring airtight seals to prevent air leakage and maximize efficiency. Proceed to the wiring phase‚ carefully following the wiring diagrams to establish secure and correct electrical connections. This includes connecting the power supply‚ thermostat wiring‚ and any optional accessories. Verify that all connections are tight and properly insulated to prevent electrical hazards.
After completing the wiring‚ install any necessary accessories such as electric heat kits‚ following their respective installation manuals. Finally‚ conduct a thorough inspection of all connections and components before powering on the unit. Perform a test run to verify proper operation‚ checking for any unusual noises or malfunctions. Adherence to these steps ensures a successful and reliable installation.
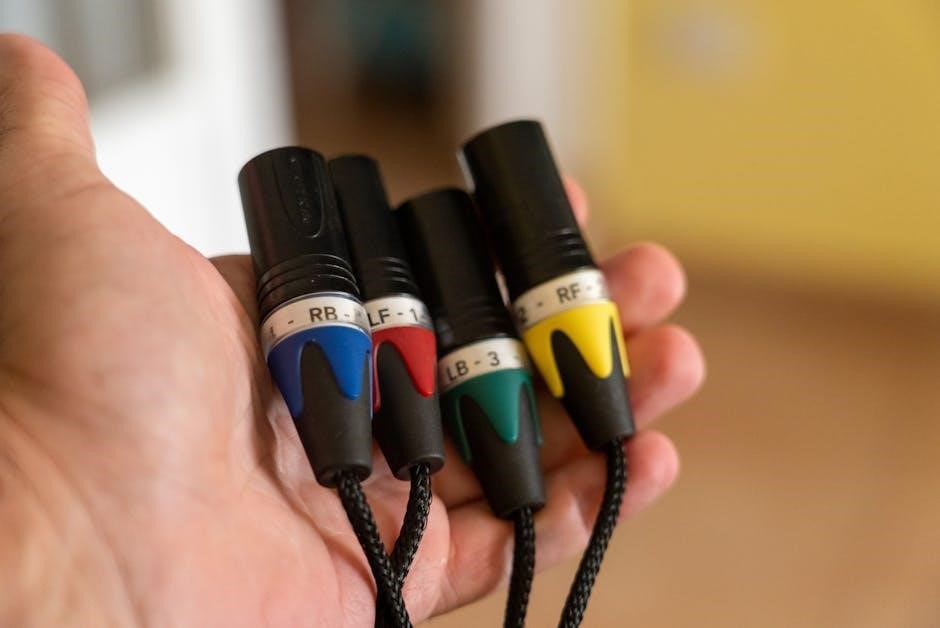
Wiring Diagrams and Electrical Connections
Proper electrical connections are paramount for the safe and efficient operation of the Goodman ARUF air handler. Always consult the specific wiring diagrams provided in the installation manual‚ as variations may exist between different ARUF models. Before commencing any electrical work‚ ensure the power supply to the unit is completely disconnected to prevent electrical shock or damage.
The wiring diagrams detail the correct connections for the power supply‚ control circuits‚ and any optional accessories such as electric heaters. Pay close attention to wire gauges and color codes to ensure accurate and secure connections. Use appropriate connectors and terminals to prevent loose connections‚ which can lead to overheating or malfunctions. Verify that all wiring complies with local electrical codes and regulations.

When connecting the power supply‚ ensure the voltage and amperage ratings match the unit’s specifications. Properly ground the unit to prevent electrical hazards. For control circuits‚ meticulously follow the thermostat wiring diagram to ensure correct operation of the heating and cooling functions. After completing all wiring connections‚ double-check each connection for tightness and proper insulation before restoring power to the unit. A systematic approach to wiring ensures a reliable and safe electrical system.
Thermostat Wiring and Configuration
Accurate thermostat wiring is crucial for the proper functioning of your Goodman ARUF air handler‚ enabling precise temperature control and energy efficiency. Refer to the wiring diagram in the installation manual for your specific ARUF model‚ as wiring configurations can vary.
Begin by identifying the terminals on both the air handler and the thermostat; Common terminals include those for power (R)‚ cooling (Y)‚ heating (W)‚ fan (G)‚ and common (C). Connect the corresponding wires between the air handler and thermostat‚ ensuring secure and properly insulated connections. For heat pump systems‚ additional terminals may be present for reversing valve control (O/B) and auxiliary heat (AUX/E). Double-check the wiring to avoid errors that could damage the system or prevent it from operating correctly.
After wiring‚ configure the thermostat settings to match your system type (e.g.‚ conventional or heat pump) and desired operating parameters. Calibrate the thermostat for accurate temperature readings and program a schedule that aligns with your comfort needs and energy-saving goals. Test the system in both heating and cooling modes to verify that the thermostat is controlling the air handler as expected‚ ensuring optimal comfort and efficiency.
Installation of Optional Accessories and Kits
Enhance the functionality and performance of your Goodman ARUF air handler by installing optional accessories and kits. These additions can improve air quality‚ increase energy efficiency‚ and provide customized comfort. Before installing any accessory‚ consult the ARUF installation manual to ensure compatibility and proper integration.
Consider installing an electric heat kit for supplemental heating during colder months. Follow the heat kit’s installation manual for correct wiring and mounting procedures. A downflow kit may be necessary if installing the air handler in a downflow configuration‚ ensuring proper airflow and drainage;
For improved indoor air quality‚ explore options like UV lights or enhanced filtration systems. UV lights help eliminate airborne pathogens‚ while advanced filters capture more dust‚ pollen‚ and allergens. Always disconnect power to the air handler before installing any accessories. Securely mount the accessory according to the manufacturer’s instructions and verify that all connections are tight and properly insulated. Once installed‚ test the accessory to confirm it is functioning correctly and seamlessly integrated with the ARUF air handler.
Post-Installation Checks and Startup Procedures
After completing the installation of your Goodman ARUF air handler‚ thorough post-installation checks and proper startup procedures are crucial to ensure optimal performance and safety. Begin by visually inspecting all connections‚ both electrical and mechanical‚ to confirm they are secure and correctly installed per the ARUF installation manual.
Verify that all wiring is properly connected and insulated‚ and that no combustible materials are near the unit. Double-check the thermostat wiring and configuration to ensure accurate temperature control. Next‚ power on the unit and observe its initial startup sequence. Listen for any unusual noises or vibrations that may indicate a problem.
Check the airflow from the vents to ensure it is consistent and adequate. Use a multimeter to verify the voltage and amperage readings match the specifications in the manual. Finally‚ test the heating and cooling functions to confirm the system is operating correctly in both modes. If any issues arise‚ consult the troubleshooting section of the ARUF installation manual or contact a qualified HVAC technician for assistance.
Troubleshooting Common Issues
Even with careful installation‚ some common issues may arise with your Goodman ARUF air handler. Addressing these promptly can prevent further damage and ensure continued efficient operation.
One frequent problem is insufficient airflow‚ which can stem from blocked filters‚ closed vents‚ or a malfunctioning blower motor. Check and replace the air filter regularly and ensure all vents are open and unobstructed. If the blower motor seems weak or noisy‚ inspect it for debris or damage and consult the wiring diagrams for electrical issues.
Another common concern is the unit not heating or cooling properly. Verify the thermostat settings and wiring‚ ensuring the correct mode is selected. Check the refrigerant levels and look for any leaks. Additionally‚ inspect the electrical connections to the heating or cooling components. Unusual noises‚ such as squealing or grinding‚ often indicate mechanical problems that need immediate attention. For any complex issues‚ refer to the Goodman ARUF installation manual or seek professional assistance from a certified HVAC technician.
Maintenance and Long-Term Care
Ensuring the longevity and efficiency of your Goodman ARUF air handler requires regular maintenance and diligent long-term care. Proper upkeep not only extends the lifespan of your unit but also optimizes its performance‚ saving you money on energy bills and preventing costly repairs.
One of the most critical aspects of maintenance is regular filter replacement. A dirty filter restricts airflow‚ causing the unit to work harder and reducing its efficiency. Inspect the filter monthly and replace it every one to three months‚ depending on usage and air quality.
Additionally‚ schedule annual professional inspections. A qualified HVAC technician can thoroughly clean the unit‚ check for leaks‚ inspect electrical components‚ and ensure all parts are functioning correctly; They can also identify potential problems before they escalate. Keep the area around the air handler clear of obstructions to allow for proper ventilation and easy access for maintenance. By following these guidelines‚ you can ensure your Goodman ARUF air handler provides reliable and efficient service for years to come.