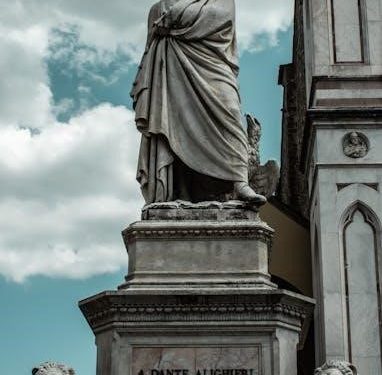
Dante’s and Aristotle’s interwoven cosmological views, explored in texts like the Divine Comedy, reveal a fascinating medieval synthesis of classical thought and theology․
Overview of the Book’s Premise
This exploration delves into the profound intersection of Dante Alighieri’s poetic cosmology, as vividly depicted in the Divine Comedy, and the foundational cosmological principles established by Aristotle․ The core premise centers on understanding how Dante appropriated and adapted Aristotle’s geocentric model, integrating it with medieval theological frameworks․
The book investigates how Dante utilized Aristotle’s concepts of natural place and a spherical Earth to construct his elaborate universe, complete with celestial spheres and a defined Earthly position․ It further examines how Dante harmonized classical philosophical thought with prevailing religious beliefs, particularly concerning the human soul and its place within the cosmos․
Ultimately, the work aims to illuminate how Dante’s universe, though rooted in ancient science, anticipates certain aspects of modern cosmological understanding, while simultaneously revealing the cultural and intellectual context of 14th-century thought․
Significance of Dante and Aristotle in Cosmological Thought
Aristotle’s cosmology, with its geocentric model and emphasis on a finite, eternal universe, dominated Western thought for centuries, providing the foundational framework for understanding the cosmos․ His doctrine of ‘natural place’ and the spherical Earth were pivotal․ Dante, writing in the medieval period, didn’t reject Aristotle, but rather synthesized his ideas with Christian theology․
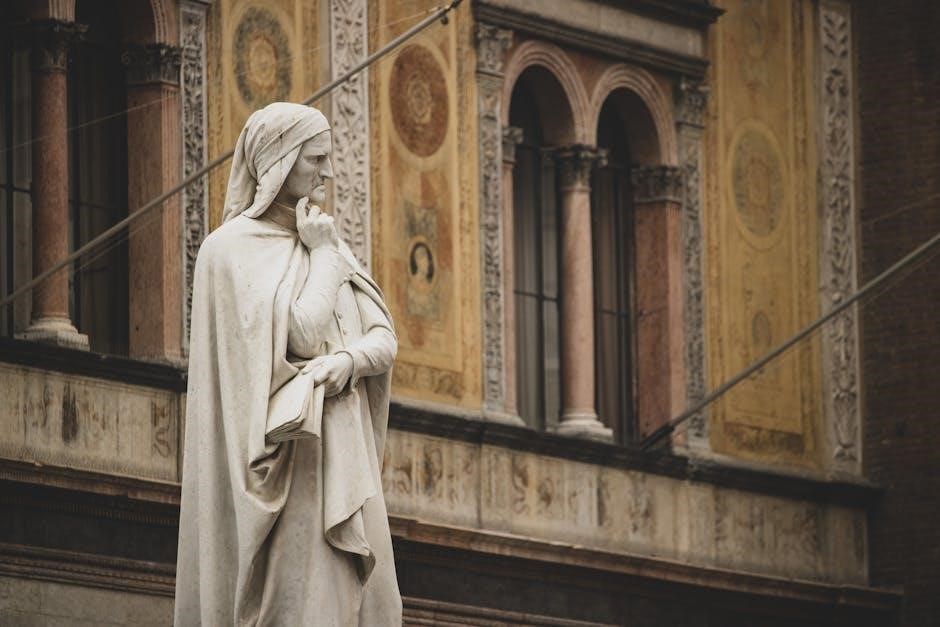
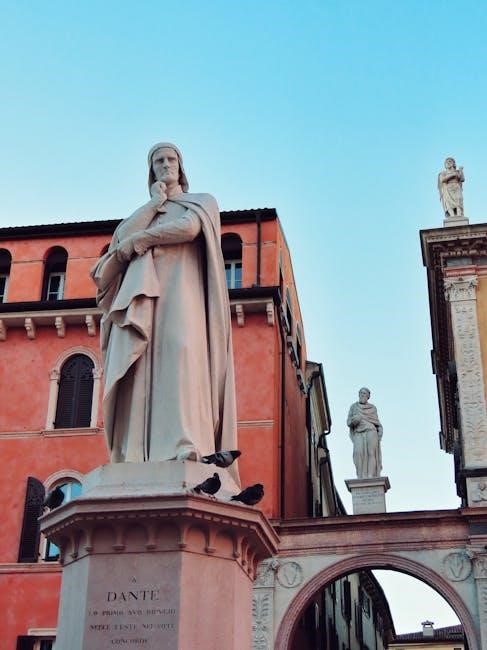
Dante’s significance lies in his poetic articulation of this synthesis within the Divine Comedy, making complex cosmological concepts accessible and deeply resonant․ He explored themes of cosmic order, disorder, and the human soul’s journey through a meticulously structured universe․
Both thinkers, though separated by time, represent crucial stages in the evolving human attempt to comprehend the universe, bridging classical philosophy and medieval religious thought, and influencing subsequent scientific inquiry․

Aristotle’s Cosmology: The Foundation
Aristotle’s geocentric universe, eternal and finite, placed Earth at the center, influencing cosmological thought for nearly two millennia with its structured spheres․
Geocentric Model of the Universe
Aristotle’s foundational cosmological model was decidedly geocentric, positing the Earth as the immovable center of the universe․ This wasn’t merely a spatial arrangement but stemmed from his physics, believing Earth’s inherent ‘heaviness’ dictated its central position․ Surrounding Earth were concentric spheres, each carrying a celestial body – the Moon, Sun, planets, and fixed stars․
These spheres were composed of a perfect, unchanging substance called aether, distinct from the terrestrial realm of change and imperfection․ Movement was explained through the spheres’ rotation, driven by an ‘Unmoved Mover’ – a prime theological concept․ This model wasn’t simply descriptive; it was deeply intertwined with Aristotelian physics and metaphysics, providing a comprehensive framework for understanding the cosmos․ It remained the dominant cosmological view for centuries, profoundly influencing thinkers like Dante Alighieri․
The Concept of Natural Place and a Spherical Earth
Aristotle grounded his cosmology in the principle of ‘natural place,’ asserting each element sought its appropriate location within the universe․ Earth, being heavy, naturally resided at the center․ Water surrounded Earth, then air, and finally, aether filled the outermost regions, encompassing the celestial spheres․ This inherent tendency towards a specific location explained observed motions․
Crucially, Aristotle argued for a spherical Earth, not based on direct observation (though evidence existed), but through logical deduction․ He noted that during lunar eclipses, Earth’s shadow cast upon the Moon was always round․ A sphere is the only shape that consistently produces a circular shadow regardless of orientation․ This, combined with the concept of natural place, solidified the spherical Earth as central to his cosmological framework, influencing subsequent thinkers like Dante․
Aristotle’s View on the Universe’s Finiteness and Eternity
Aristotle posited a finite, yet unbounded, universe․ He rejected the notion of an infinite void beyond the sphere of fixed stars, arguing it lacked a natural place and therefore couldn’t exist․ The universe, for Aristotle, was a series of concentric spheres, each containing a celestial body, ultimately defining a limited, though immense, cosmic structure․
Furthermore, Aristotle believed the universe was eternal and unchanging, lacking a discernible beginning or end․ This stemmed from his physics, which emphasized continuous, natural motions within the celestial realm, contrasting with the corruptible, changing nature of the sublunary world․ This eternal cosmos provided a stable backdrop for his philosophical and scientific inquiries, a concept later adopted and adapted within medieval cosmological thought, including Dante’s synthesis․

Dante’s Cosmology: A Medieval Synthesis
Dante skillfully integrated Aristotle’s cosmology with medieval theology, crafting a detailed universe depicted vividly in the Divine Comedy, reflecting scholastic thought․
Dante’s Adaptation of Aristotelian Cosmology
Dante didn’t simply replicate Aristotle’s model; he creatively adapted it to fit within a Christian worldview․ While retaining the geocentric structure – Earth firmly at the universe’s center – Dante infused it with theological significance․ He accepted Aristotle’s concept of celestial spheres, but populated them with angelic hierarchies and the souls of the blessed and the damned․
This adaptation is evident in the Divine Comedy, where the journey through Hell, Purgatory, and Paradise mirrors a movement through these concentric spheres․ Dante used Aristotle’s framework to explore moral and spiritual themes, transforming a scientific cosmology into a powerful allegorical landscape․ He wasn’t concerned with scientific accuracy, but with using the best available cosmological understanding to convey theological truths, demonstrating a unique synthesis of classical and medieval thought․
The Structure of Dante’s Universe in the Divine Comedy
Dante’s universe, as depicted in the Divine Comedy, is meticulously structured around a geocentric model inherited from Aristotle․ Earth resides at the center, immobile, with nine concentric, crystalline spheres encompassing it․ These spheres house the Moon, Mercury, Venus, the Sun, Mars, Jupiter, Saturn, the fixed stars, and the Primum Mobile – the sphere that imparts motion to all others․
Beyond the Primum Mobile lies the Empyrean, the realm of God and the angels․ Descending from Earth, Hell is structured as a funnel-shaped abyss within the Earth itself, while Purgatory rises as a mountain on the opposite side․ This arrangement isn’t merely spatial; it’s deeply symbolic, reflecting a hierarchical order mirroring divine justice and the path to salvation․
Earth’s Position and the Celestial Spheres
In Dante’s cosmology, profoundly influenced by Aristotle, Earth occupies the immovable center of the universe, a fixed point around which all celestial bodies revolve․ This geocentric view places humanity at the heart of creation, reflecting a theological emphasis on humankind’s significance․ Surrounding Earth are the celestial spheres, each carrying a heavenly body – Moon, Sun, planets, and stars․
These spheres aren’t empty; they are composed of a perfect, unchanging substance and driven by angelic intelligences․ Their ordered arrangement embodies cosmic harmony and divine purpose․ The further a sphere is from Earth, the more perfect and sublime it becomes, culminating in the Empyrean, the realm of God beyond the physical universe․
The Intersection of Dante and Aristotle
Dante skillfully appropriates Aristotle’s ethics and cosmology, harmonizing classical philosophy with medieval theology within the framework of the Divine Comedy․
Dante’s Appropriation of Aristotle’s Ethics and Cosmology

Dante doesn’t merely replicate Aristotle’s thought; he actively reinterprets and integrates it into a Christian worldview; His understanding of the human soul, deeply influenced by Aristotle’s Nicomachean Ethics, becomes central to the moral landscape of the Divine Comedy․
Dante utilizes Aristotle’s cosmological framework – the geocentric model with its spheres – as a structural foundation for his universe, but imbues it with theological significance․ He adapts Aristotle’s concept of ‘natural place’ to justify the hierarchical order of Heaven, Purgatory, and Hell․
This appropriation isn’t without modification; Dante introduces elements absent in Aristotle, like the Empyrean, reflecting his Christian beliefs․ Ultimately, Dante employs Aristotle not as an end in himself, but as a tool to explore profound theological and ethical questions․
Human Soul and Aristotelian Philosophy in Dante’s Work
Dante profoundly engages with Aristotle’s psychology, particularly his concept of the soul as the form of the body, shaping the characters and their fates within the Divine Comedy․ The soul’s capacity for reason and will, central to Aristotle’s ethics, dictates a soul’s placement in the afterlife․
Virtue and vice, as understood through an Aristotelian lens, directly correlate with a soul’s ascent or descent․ Dante portrays the consequences of choices made in life, reflecting Aristotle’s emphasis on habit and character formation․
However, Dante transcends purely philosophical considerations, adding a crucial theological dimension – divine grace․ While Aristotle focused on earthly flourishing, Dante links the soul’s ultimate fulfillment to union with God, creating a synthesis of classical and Christian thought․
Harmonizing Classical Thought with Medieval Theology
Dante’s achievement lies in his masterful integration of Aristotle’s philosophical system with prevailing medieval Christian theology․ He doesn’t simply adopt Aristotle; he reframes it within a divine framework, resolving perceived conflicts between reason and faith․
Aristotle’s cosmology, though geocentric, provided a structured universe that Dante could populate with theological meaning․ The celestial spheres became stages for divine justice and the unfolding of God’s plan․ Dante utilizes Aristotle’s ethics, but grounds virtue in divine love, elevating it beyond earthly concerns․
This synthesis wasn’t without challenges, as some Aristotelian ideas clashed with Church doctrine․ Dante skillfully navigates these tensions, demonstrating how reason, when properly understood, can illuminate and support religious belief, creating a cohesive worldview․
Cosmic Disorder and Sexuality in Dante’s Inferno
Dante’s Inferno portrays sexuality as a force representing cosmic imbalance and a deviation from divinely ordained order within the universe․
Sexuality as a Representation of Cosmic Imbalance
Within Dante’s Inferno, the depiction of lust and disordered sexuality isn’t merely a moral failing, but a profound disruption of the cosmic order established by divine creation․ This perspective draws heavily from Aristotle’s understanding of natural order, where everything has its proper place and function․ When these are violated – as seen in the sins of the flesh – it creates a disharmony mirroring a larger cosmic imbalance;
The punishments inflicted upon the lustful in the second circle of Hell are not arbitrary; they symbolize the chaotic, uncontrolled nature of their desires․ Driven endlessly by winds, they represent a loss of rational control, a key tenet of Aristotle’s ethics․ Dante utilizes this framework to demonstrate how unchecked passions can destabilize both the individual soul and the universe itself, reflecting a proto-scientific worldview connecting human behavior to broader cosmological principles․
The Symbolic Significance of Dante’s Cosmic Landscape
Dante’s meticulously crafted cosmic landscape in the Divine Comedy transcends a simple geographical representation of the universe; it’s a deeply symbolic allegory reflecting spiritual and moral truths․ Influenced by Aristotle’s cosmology, the concentric spheres aren’t just physical structures, but stages in a journey of purification and ascent towards God․ Each sphere embodies a different virtue or aspect of divine order․
The descent into the Inferno mirrors a fall from grace, a movement away from the divine light and into increasing darkness and chaos․ Conversely, the ascent through Purgatory and Paradise represents a gradual return to harmony and perfection․ Dante utilizes this spatial arrangement to visually and emotionally convey the consequences of sin and the rewards of virtue, grounding abstract theological concepts in a tangible, relatable cosmic framework․
Dante’s Universe and Modern Cosmological Concepts
Surprisingly, despite its geocentric foundation rooted in Aristotle’s model, Dante’s universe exhibits intriguing parallels with modern cosmological ideas․ The concept of a finite, yet unbounded, universe finds echoes in Dante’s structured cosmos, with God positioned at the outermost extreme․ Furthermore, the emphasis on symmetry and order within Dante’s celestial spheres resonates with the search for underlying patterns in the modern universe․
While fundamentally different in their methodologies, both Dante’s and modern cosmology grapple with questions of scale, structure, and humanity’s place within the grand scheme of existence․ The exploration of antipodes, a feature of Dante’s design, foreshadows modern considerations of symmetry and opposing forces in the cosmos, demonstrating a surprisingly prescient vision․

The Antipodes and Symmetry in Dante’s Universe
Dante harmonized the concept of antipodes within a symmetric universe, showcasing his ability to blend classical thought with medieval theological frameworks․
Exploring the Concept of Antipodes
The notion of antipodes – places directly opposite each other on the Earth – presented a significant cosmological challenge in Dante’s time․ Aristotle’s geocentric model, foundational to Dante’s universe, initially struggled to accommodate the idea of inhabitants on the opposite side of the globe․ This stemmed from concerns about the possibility of falling off the Earth or the implications for the natural order․
However, Dante ingeniously integrated antipodes into his cosmological vision within the Divine Comedy․ He located Mount Purgatory directly opposite Jerusalem, establishing a symmetrical structure to his universe․ This placement wasn’t merely geographical; it held theological significance, reflecting a divine order and balance․ Dante’s treatment of antipodes demonstrates his creative adaptation of classical ideas to reconcile them with Christian doctrine, showcasing a sophisticated understanding of both philosophical and religious concepts․
Symmetry as a Key Feature of Dante’s Cosmological Vision
Dante’s universe, deeply influenced by Aristotle, isn’t simply a structured hierarchy but exhibits a profound sense of symmetry․ This isn’t merely aesthetic; it’s integral to the theological and philosophical underpinnings of the Divine Comedy․ The placement of Mount Purgatory opposite Jerusalem exemplifies this, creating a terrestrial axis mirroring the celestial order․ This deliberate arrangement suggests a divine harmony and balance governing creation․
Furthermore, the concentric spheres surrounding Earth, each governed by different celestial bodies, contribute to this symmetrical design․ Dante harmonized classical thought with medieval theology, presenting a universe where earthly and heavenly realms reflect each other․ This symmetry isn’t just spatial; it extends to moral and spiritual realms, suggesting a universe governed by just and proportionate principles, echoing Aristotle’s emphasis on order․
Relevance to Modern Understanding of the Universe
While Dante’s and Aristotle’s geocentric model differs drastically from our current understanding, exploring their cosmology offers surprising relevance․ Their meticulous attempts to map the universe, driven by observation and philosophical reasoning, foreshadow modern scientific inquiry․ Dante’s depiction of a finite, yet immense, universe resonates with contemporary cosmological models exploring the observable universe’s boundaries․
Moreover, the emphasis on order and harmony within their system parallels the search for fundamental laws governing our universe․ Though their explanations differ, the underlying impulse – to comprehend the cosmos’ structure and our place within it – remains constant․ Studying their work highlights the evolution of cosmological thought and the enduring human quest for understanding, even as our tools and perspectives change․